MacDirtyCow app development: From zero to hero.
Wait. What exactly is MacDirtyCow?
MacDirtyCow, often abbreviated as MDC, is a security vunerability that exploits a race condition in XNU’s virtual memory system to overwrite the cached version of any given file. Because of its versatility, it has been used in a number of recent iOS customization apps such as Cowabunga.
I’m saying this like I’m some mega-nerd who knows how everything works, but in reality I don’t even know how copy-on-write works 😭
Now with that out of the way, let’s get into how you can make your own app that leverages the MacDirtyCow exploit.
Prerequisites
- A Mac with Xcode 14+ installed
- An iOS device with an iOS version of 16.1.2 or below. I recommend anywhere from 15.0 to 16.1.2.
Getting Started with your Xcode Project
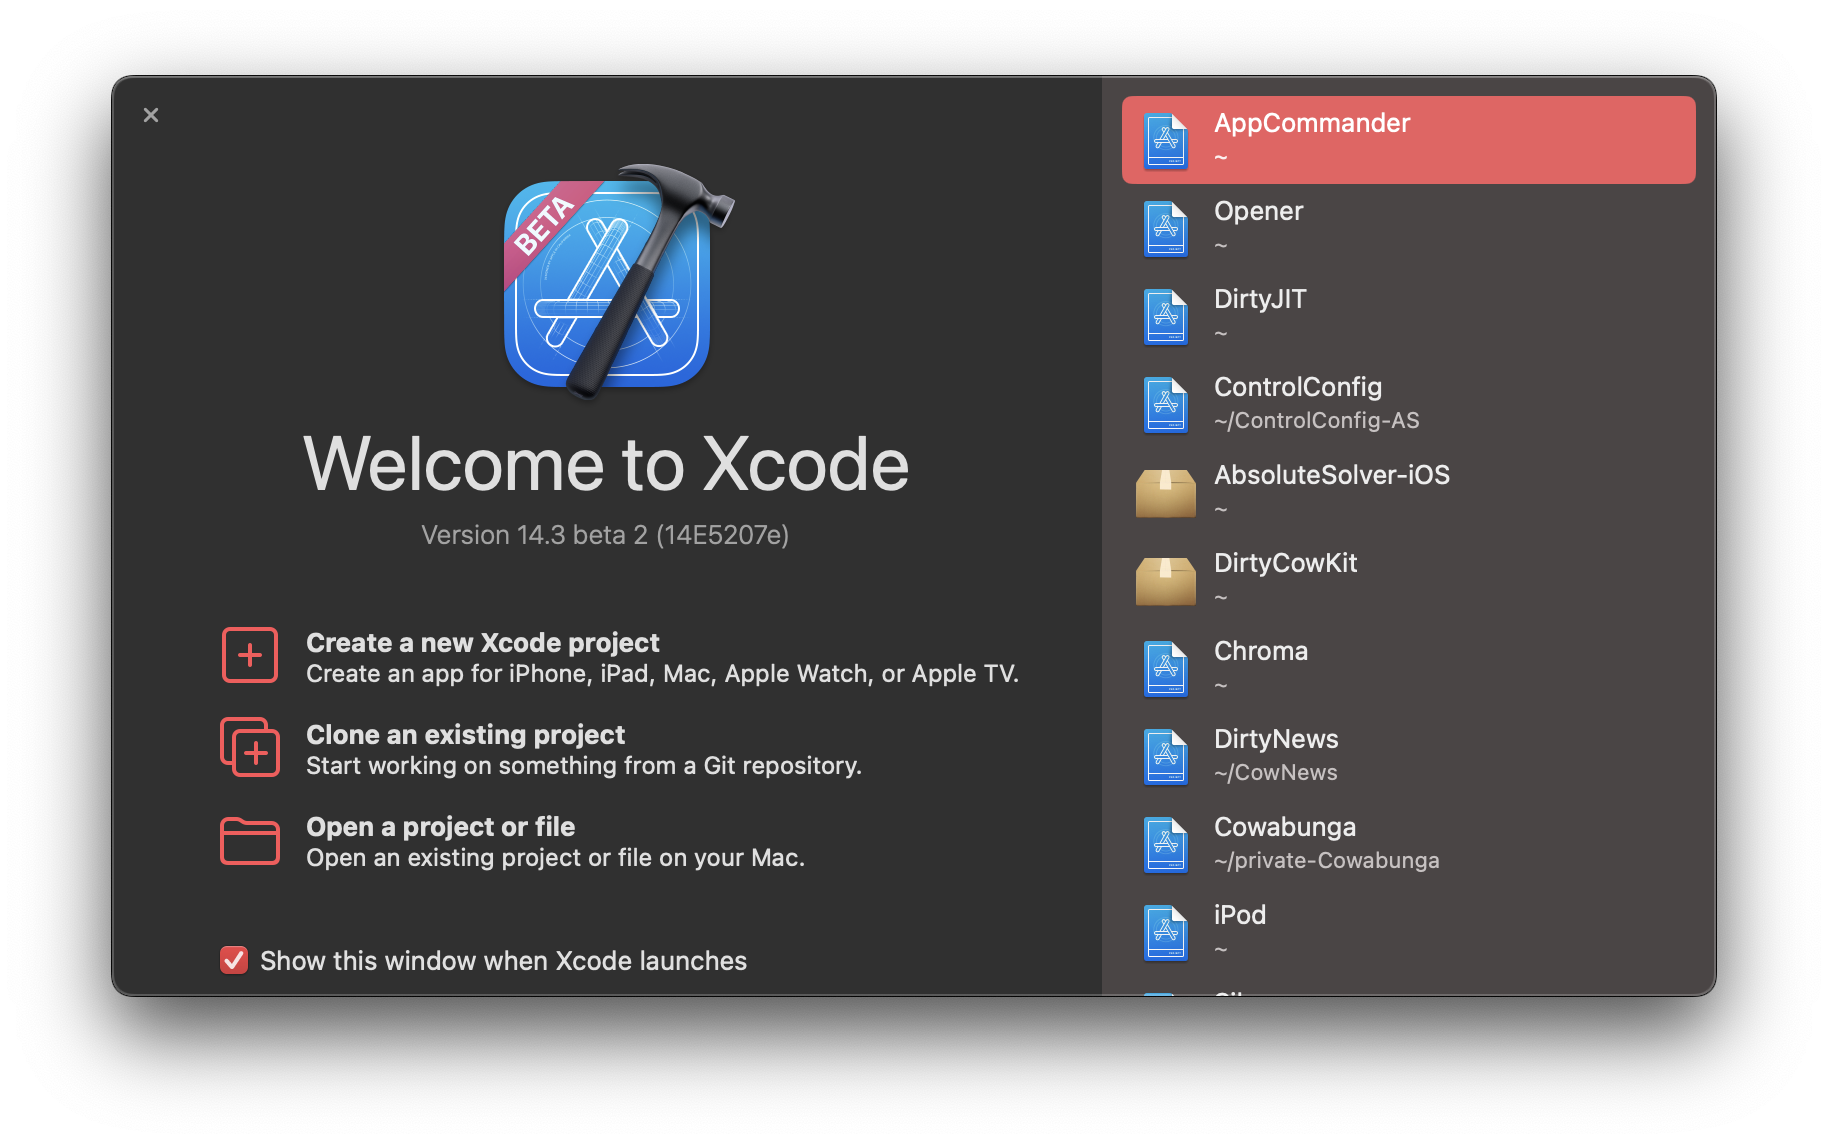
Open Xcode. You should be presented with a screen similar to this:

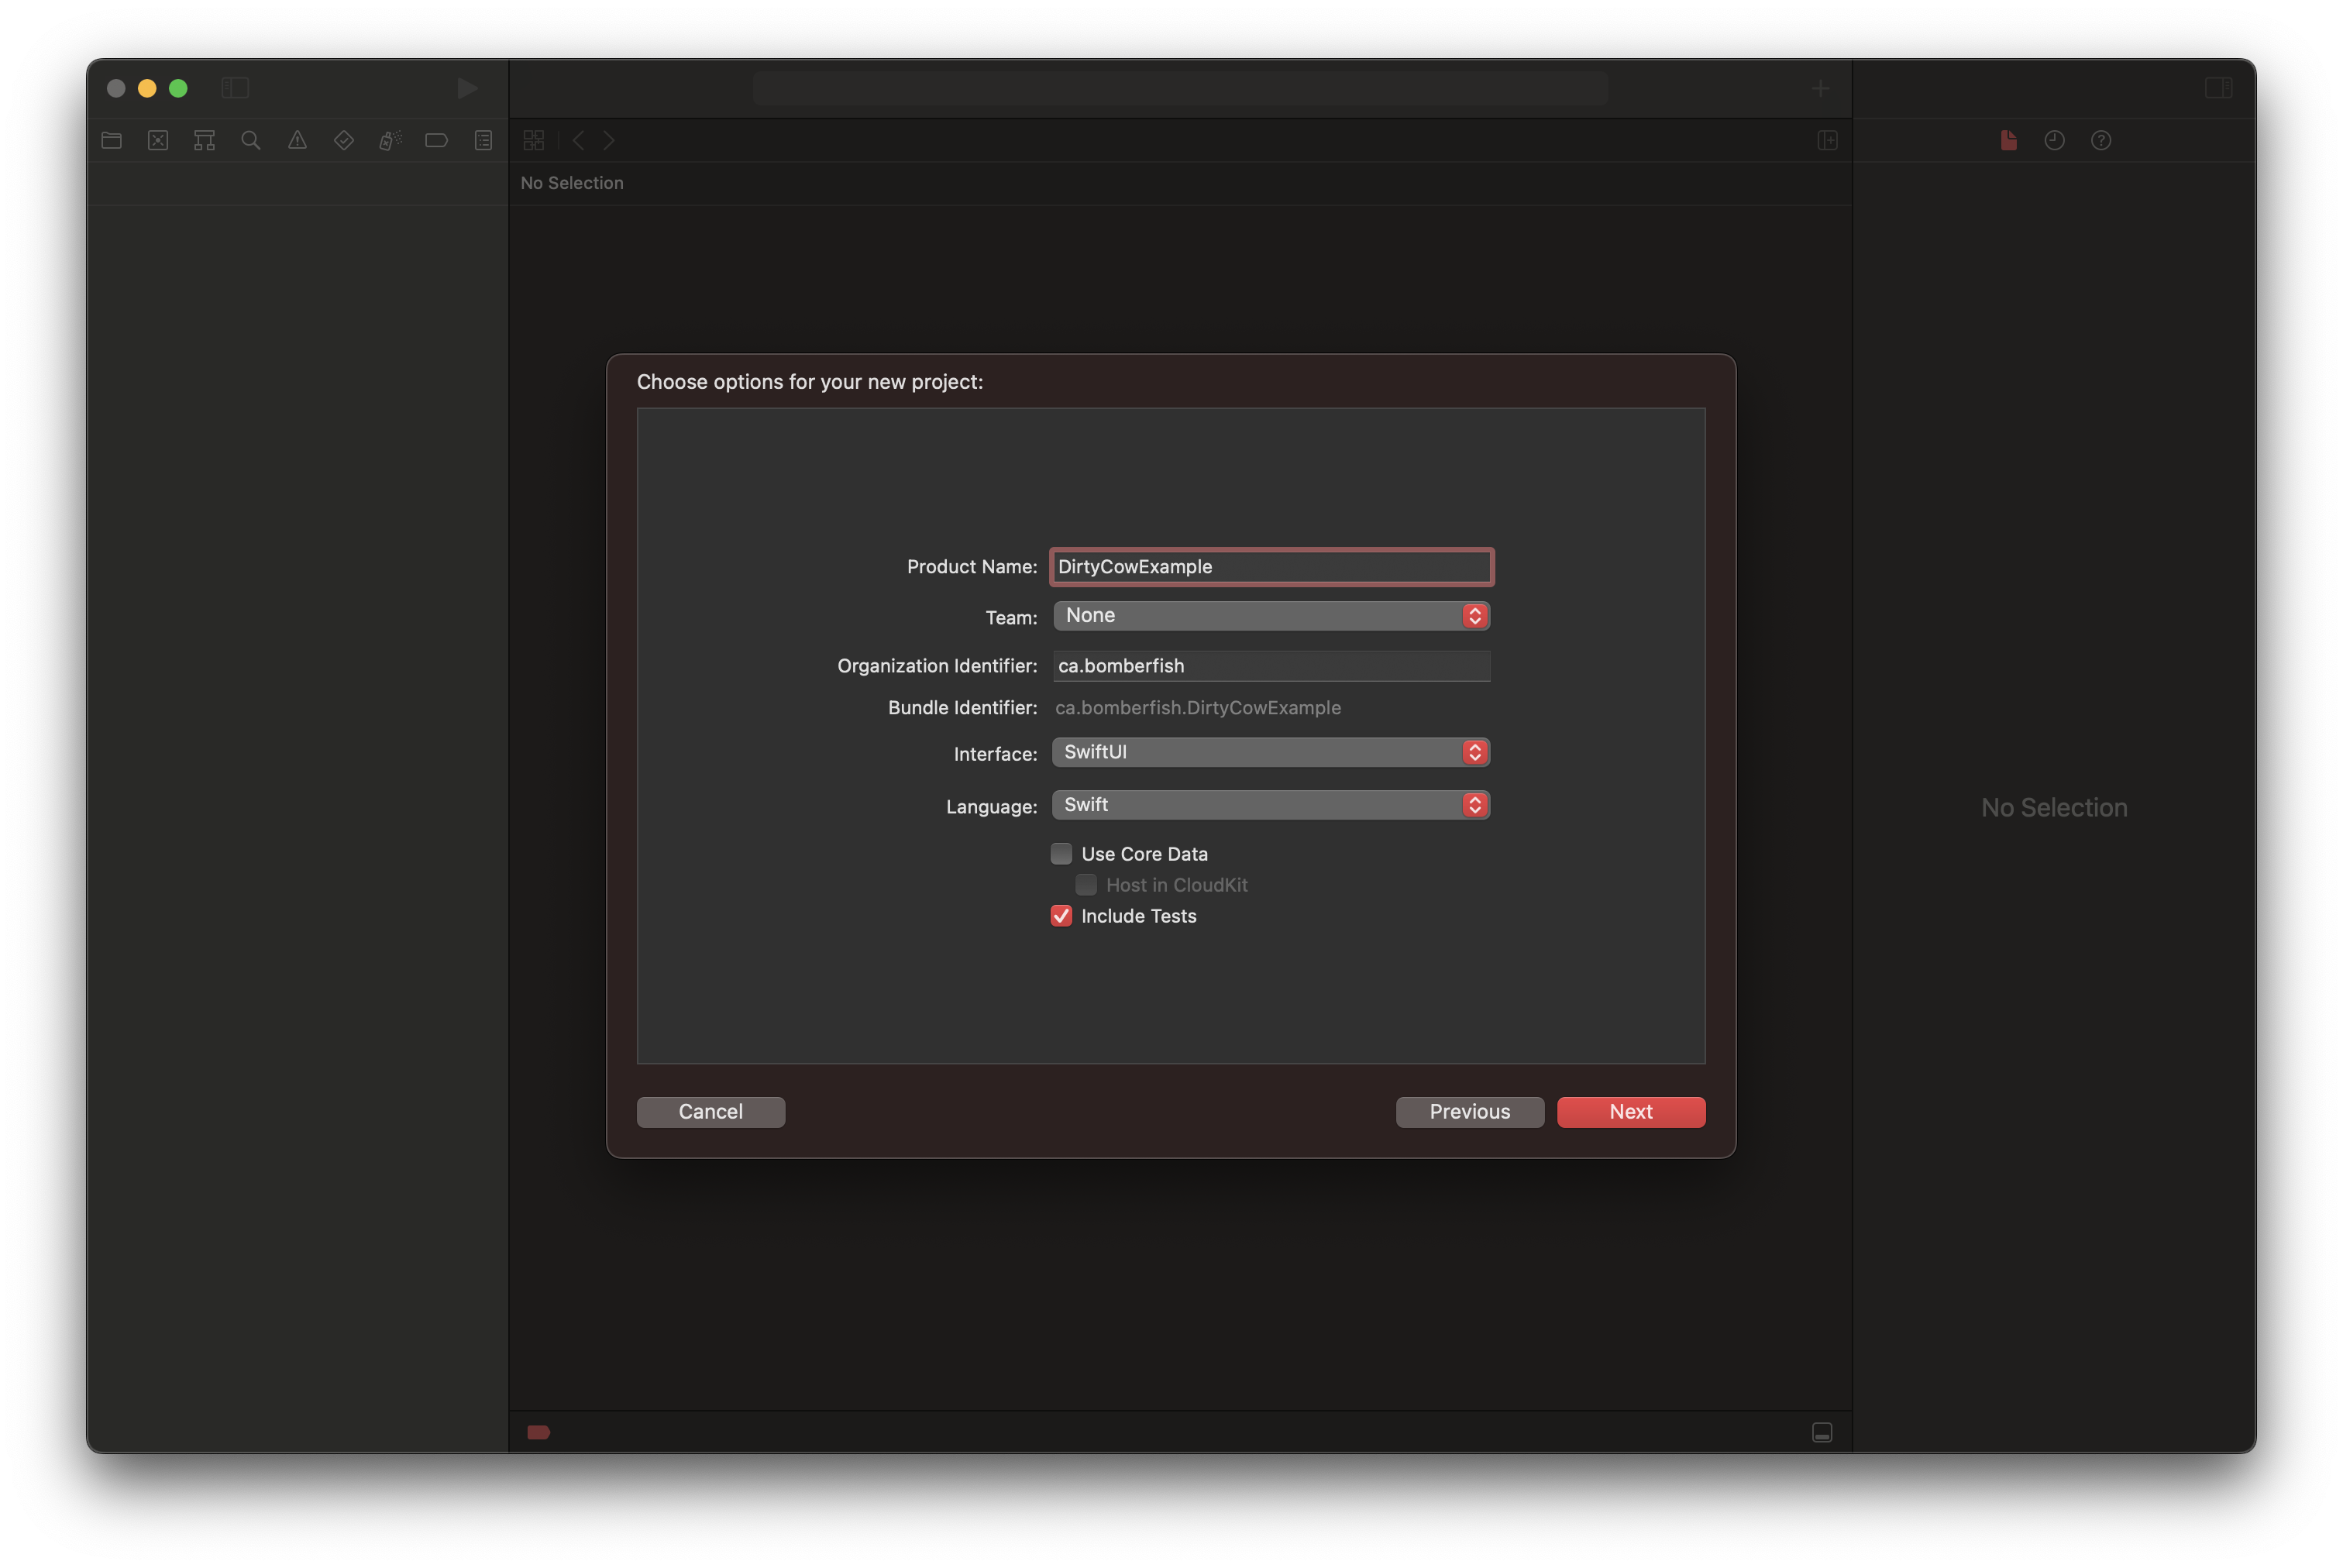
Click “Create a new Xcode project” to create a new project. Select “App” under the “iOS” tab. Click Next and you will be prompted to choose options for the project. Set it up similar to the image below, but make sure to change the Product Name to what you want your app to be called, and the Organization Identifier to whatever you want. Make sure Interface is set to SwiftUI and Language is set to Swift.

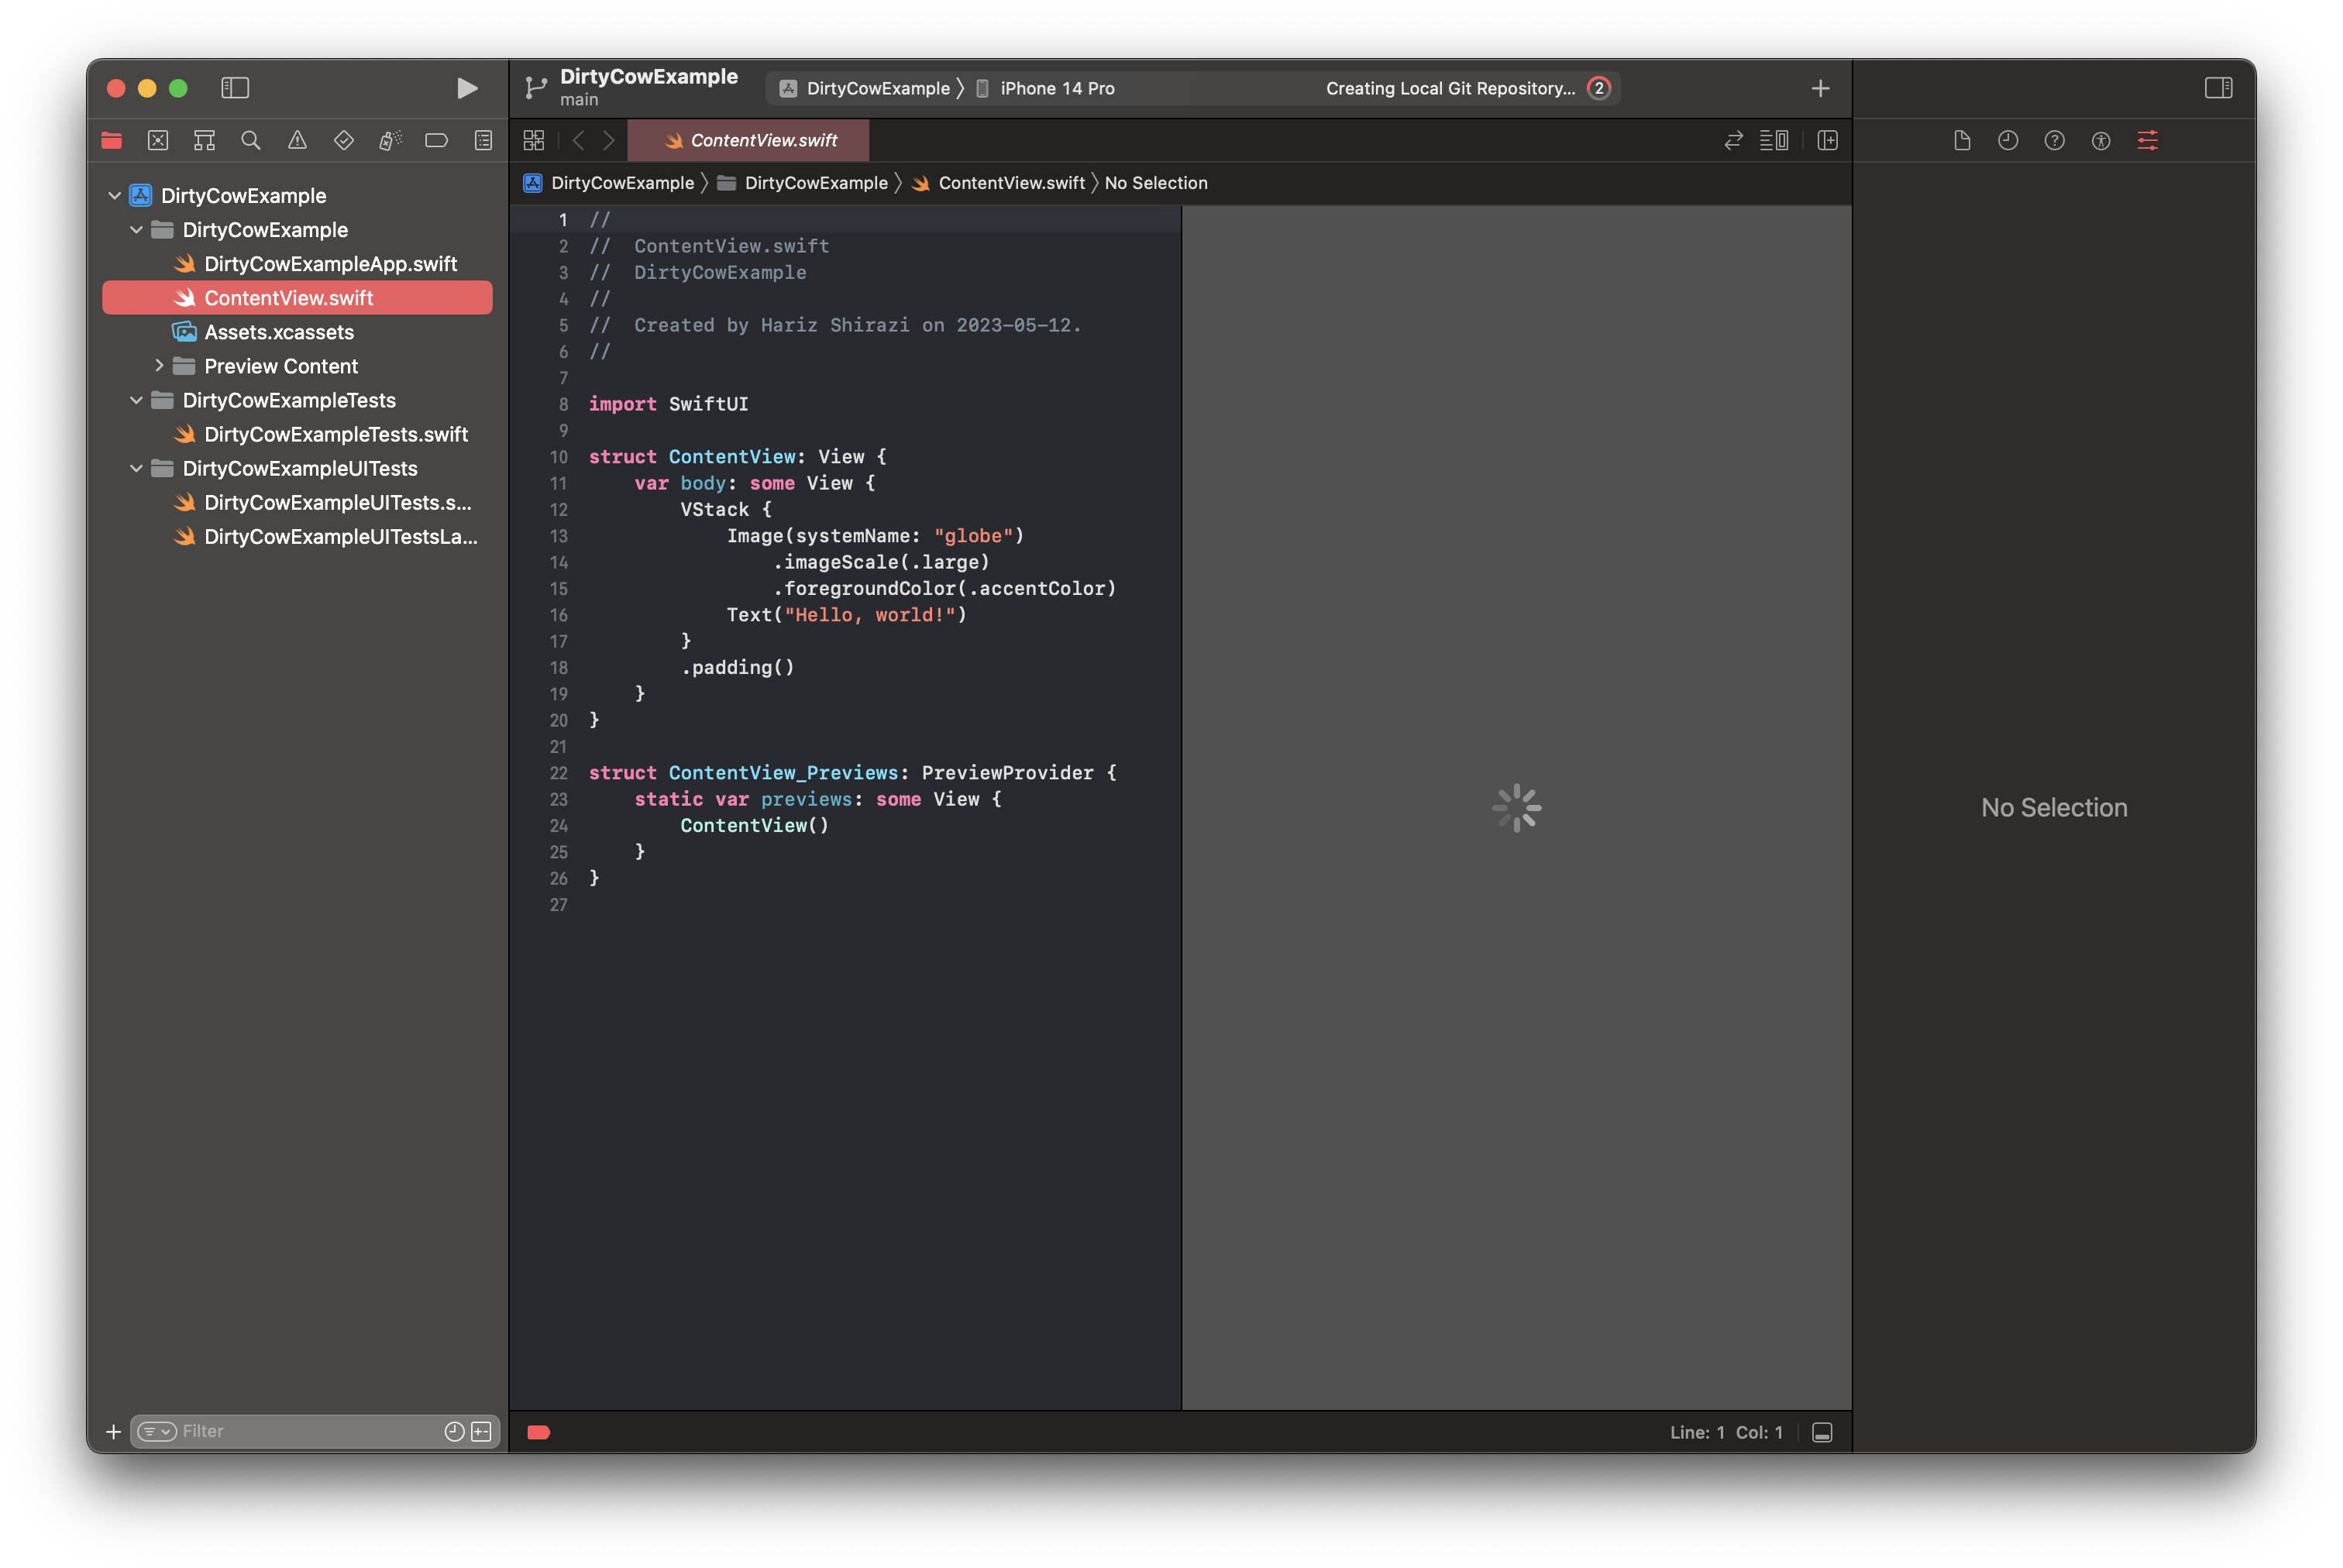
Click next and save the directory wherever you want.
Congratulations! You’ve made your first Xcode project.

Adding MDC
Now here comes the fun part: adding the MacDirtyCow exploit.
Option 1: Using DirtyCowKit
Step 1: In Xcode, under the file menu, click “Add Packages…”
Step 2: In the search bar, enter https://github.com/BomberFish/DirtyCowKit. Click “Add Package” and then “Add Package” (again) and it should add the package to your project.
OPTIONAL: Add the AbsoluteSolver package from the following link: https://github.com/BomberFish/AbsoluteSolver-iOS. Absolute Solver will automatically toggle between regular file operations using Swift’s FileManager and an MDC-based operation.
Option 2 (advanced, not recommended): Manually adding the exploit files
Step 1: Get the exploit files. You can easily find these from somewhere like the Cowabunga GitHub repository.
Step 2: Add the files to your Xcode project, making sure to include them in your bridging header. If you don’t know what that is or are confused, you’re best off using option 1. The steps below are for option 1 only.
Unsandboxing
At the top of your <Project name>App.swift file, type import DirtyCowKit. Then, under ContentView(), add the following code:
.onAppear {
    if #available(iOS 16.2, *) {
        print("Throwing not supported error (mdc patched)")
        DispatchQueue.main.async {
            let alert = UIAlertController(title: "Not Supported", message: "This version of iOS is not supported.", preferredStyle: .alert)
            alert.addAction(UIAlertAction(title: "OK", style: .default, handler: nil))
            UIApplication.shared.windows.first?.rootViewController?.present(alert, animated: true, completion: nil)
        }
    } else {
        // grant r/w access
        if #available(iOS 15, *) {
            print("Escaping Sandbox...")
            DispatchQueue.main.asyncAfter(deadline: .now() + 0.15) {
                do {
                    try MacDirtyCow.unsandbox()
                } catch {
                    let alert = UIAlertController(title: "Unsandboxing Error", message: "\(error.localizedDescription)\nPlease close the app and retry. If the problem persists, reboot your device.", preferredStyle: .alert)
                    UIApplication.shared.windows.first?.rootViewController?.present(alert, animated: true, completion: nil)
                }
            }
        }
    }
}
Your file should look something like this:
import MacDirtyCow
import SwiftUI

@main
struct DirtyCowExampleApp: App {
    var body: some Scene {
        WindowGroup {
            ContentView()
                .onAppear {
                    if #available(iOS 16.2, *) {
                        print("Throwing not supported error (mdc patched)")
                        DispatchQueue.main.async {
                            let alert = UIAlertController(title: "Not Supported", message: "This version of iOS is not supported.", preferredStyle: .alert)
                            alert.addAction(UIAlertAction(title: "OK", style: .default, handler: nil))
                            UIApplication.shared.windows.first?.rootViewController?.present(alert, animated: true, completion: nil)
                        }
                    } else {
                        // grant r/w access
                        if #available(iOS 15, *) {
                            print("Escaping Sandbox...")
                            DispatchQueue.main.asyncAfter(deadline: .now() + 0.15) {
                                do {
                                    try MacDirtyCow.unsandbox()
                                } catch {
                                    let alert = UIAlertController(title: "Unsandboxing Error", message: "\(error.localizedDescription)\nPlease close the app and retry. If the problem persists, reboot your device.", preferredStyle: .alert)
                                    UIApplication.shared.windows.first?.rootViewController?.present(alert, animated: true, completion: nil)
                                }
                            }
                        }
                    }
                }
        }
    }
}
Using MDC
Here are some examples of using MDC in your app.
How to replace a file
import MacDirtyCow
MacDirtyCow.overwriteFileWithDataImpl(originPath: String, replacementData: Data)
If you opted to add AbsoluteSolver earlier
import AbsoluteSolver
AbsoluteSolver.replace(at: URL, with: NSData)
What now?
I recommend using websites like Hacking With Swift to up your Swift knowledge. Also make sure to look at the source code of other MDC applications like Cowabunga, ControlConfig or AppCommander for more advanced usage.
Otherwise, happy hacking!
Revisions
- 2023-05-12: Minor updates
- 2023-09-26: Fix formatting